How do I set up a new campaign?
See Launching Your 1st Campaign
How do I attach a product to a campaign?
Products are added to Klickly campaigns in only two ways:
- When launching a campaign products can be attached from your eCommerce platform (Shopify, Magento, etc) to a campaign during step 2 of campaign creation. This is the case when launching both your first campaign and any subsequent campaigns (remember, you can create multiple campaigns with different products)
- By editing a campaign to include products that you formerly excluded. If you excluded certain products during the creation of a campaign, you may re-include them by following the steps in How do I exclude products from my campaign
NOTE: To add new products to Klickly by either method, you must first add desired products to your eCommerce Platform. By adding them to your Shopify or Magento platform, you’ll allow Klickly to automatically keep products in sync via our SmartSync™ technology!
Products added in your eCommerce platform will appear in your "Products" tab in the Klickly dashboard. From there, you can decide what kind of campaign you want to set up. See Step 1: Choose your campaign type
Can I customize my ads?
Yes! To personalize your ads in the dashboard:
- Click on your brand name (top right-hand corner)
- Click on 'Account settings' in the drop-down menu
- Click on 'Creative settings' (left-hand side)
Here you can edit your font, choose your brand colors, customize your offer message, and upload your logo.
NOTE: your creative and branding settings are applied account-wide.
How do I set a campaign commission?
During step 4 of the campaign creation process, “Set your campaign’s Priority Score™,” you will be asked to set a commission for your campaign. Think of this commission as your “ad spend,” paid only when sales occur in this campaign. If you select a 25% commission, you will pay out 25% when Klickly helps drive a sale.
(A note for choosing your commission: a 20% commission could also be thought of as 5:1 returns or a 5X ROAS –– I.E. you can select your commission according to what returns your brand would like to see.)
If at any point you want to change your commission:
- Click on the 'Campaign’ tab in the nav bar
- Click on the pencil icon to edit your campaign
- Scroll down to 'Campaign commission' and use the slider to either increase or decrease your commission
- Click 'Save' to update your settings
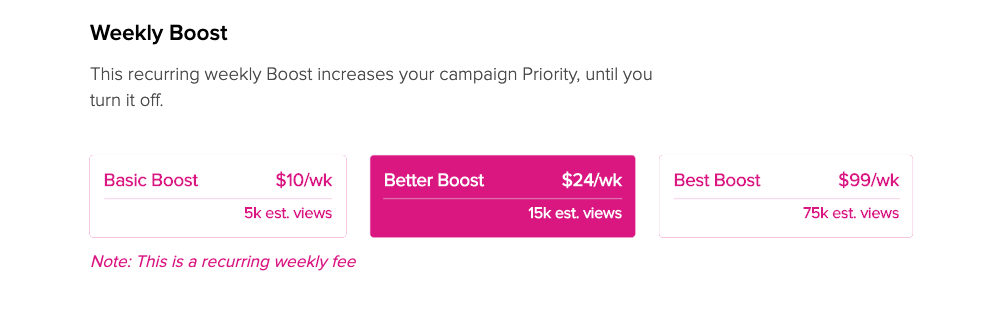
How do I set a boost?
During step 4 of the campaign creation process, “Set your campaign’s Priority Score™,” you will be given the option to add a boost. Select your boost of choice, depending on your marketing goals:
- $10/week- est.5k impressions
- $24/week- est.15k impressions
- $99/week- est.75k impressions
Boosts get you extra impressions while also helping you rank higher in Klickly’s algorithm and ahead of the competition. A boost is a recurring weekly charge to incentivize Klickly to show your products more often.
If at any point you want to add or remove a boost:
- Click on the 'Campaign’ tab in the nav bar
- Click on the pencil icon to edit your campaign
- Scroll down to the 'Weekly Boost' section
- Either click on the boost you wish to add or deselect a boost you wish to remove
- Click on 'Save' to update your settings
How do I set a rest-of-site commission?
If you would also like to set a Rest of Site commission (for any products on your site not in a campaign)
- Click on brand name (top right-hand corner)
- Click on 'Account Settings'
- Click on 'Account Management'
- Scroll down to rest-of-site commission (%)
- Click 'Save' to update settings
How do I set a new-customer commission?
If your strategy focuses on acquiring first-time purchasers, you may want to read more about What is a new-customer commission? (Think of this as your blended, storewide CPA)
If you’d like to focus more aggressively on acquiring first-time buyers, you can add a NCC by:
- Click on brand name (top right-hand corner)
- Click on 'Account Settings'
- Click on 'Account Management'
- Scroll down to new-customer-commission ($ amount).
- Click 'Save' to update settings
How do I set a cold-customer commission?
If your strategy focuses on acquiring cold, top-of-funnel customers, you may want to read more about What is a cold-customer commission? (Think of this as your highest CPA)
If you’d like to focus more aggressively on acquiring cold consumers, you can add a CCC by:
- Click on brand name (top right-hand corner)
- Click on 'Account Settings'
- Click on 'Account Management'
- Scroll down to cold-customer-commission ($ amount).
- Click 'Save' to update settings
How do I see the breakdown of commission per order?
To see a breakdown of commissions per order, simply click on the 'Orders' tab in nav bar of the dashboard.
Here, you can view all order details, such as:
- Klickly ID
- Shopify ID
- Date of Order (by default, this is the date the order is “processed” but can sometimes be the date “created at” if no other date info is available. Note that time zones also play a role in date range)
- Subtotal
- Total
- Commission (taken off the subtotal)
- Status (received, refunded, etc.)
You can hover over the 'i' to see the number of engagements and days to conversion.
If you click into a specific order you will be able to see further the breakdown:
- What products were sold
- If a discount was placed
- Shipping cost
- Shipping address
- Billing address
- Customer email